

Spring Seed Bombs
Seed bombs are a bit of a buzz word right now in the gardening world. Also known as seed balls or flower bombs, the idea is golden. Almost anyone can make these little balls of seeds, dirt and clay and toss them—possibly renegade style—into nooks, crannies and barren areas in need of flowers.
Skeptics question how well they work, but many more consider them a fun, time-tested practice. Some say they harken back to the ancient Egyptians, who used them to plant the banks of the Nile. Ancient Japanese gardeners coined them Tsuchi Dango (earth dumpling) and they were reintroduced as a practice in the early 20th century. They were a part of the community gardening movement in New York City in the 1970s.
Regardless of their effectiveness, we gardeners have been trying for a long time. Sometimes it’s good to remember, we are only responsible for the effort; Mother Nature will take care of the rest. Maybe their best feature is the natural gardening optimism they bring. And the connection to nature and general cool factor makes them worth trying. They are also a great way to introduce fledgling gardeners to the concept of growing things.
The process is simple. There are numerous “recipes” out there, but they all include three general ingredients: the seeds, dirt or compost and a binding agent, such as flour, clay powder or air-dry clay (my choice).
Air-dry clay is readily available wherever kids’ craft supplies are sold. Any type of potting soil or compost (purchased or your own) will work. As far as seeds go, our friends at Prairie Moon Nursery have curated a list of native plants that germinate with no pre-treatment (so you can make your seed balls without overwintering) and may work better where they need to compete with weeds. You can also use annual flower seeds.

How to make your own seed bomb
- Scoop a ball of air-dry clay about the size of a golf ball from the container and flatten to a disc that is about a quarter-inch thick. You may need to work it with your hands to soften.
- Take about a tablespoon of dirt and place on the disc.
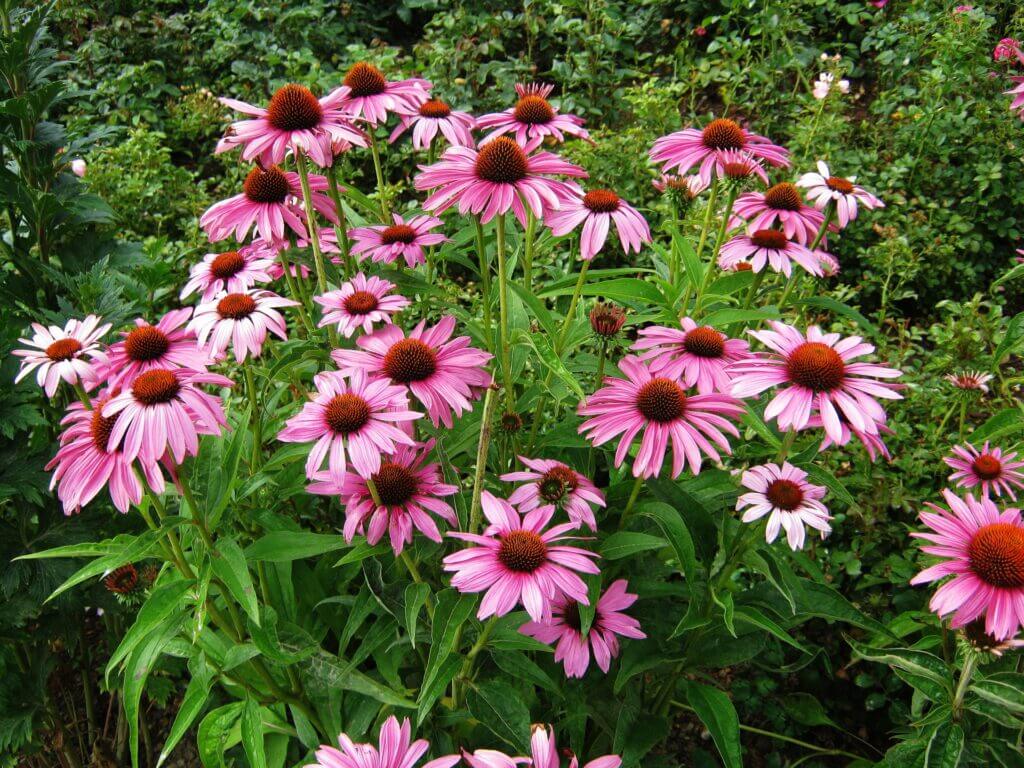
- Add a sprinkling of seeds (5-6). I used purple coneflower.
- Wrap the clay around the dirt and gently form it into a ball, being mindful not to overwork it and force the dirt out.
- Allow the clay to dry for a few days.
- Toss the seeds onto anywhere in need of some native flora. The air-dry clay will disintegrate under the elements and the rest is garden magic!

Before you go bombing your neighborhood with seeds, remember to toss these balls only on your own property. You might ask, who will mind native species popping up in public places? You just never know—stick to areas you have permission to bomb.
The bombs will need to compete with weeds and other plants when they land, and also will rely on rain, but the science is pretty simple: seeds + soil + water equals plants. Regardless of what grows, fun and satisfaction are guaranteed.
Eric Johnson is a longtime contributor to Northern Gardener® magazine and a lifelong gardener. His self-help memoir, Emotional Eater, came out in December 2023.

Should the directions say to form the clay into a “ball” rather than a “bowl?”
When should they be put out? Early May?
Would regular (not air dried) clay work too?