
How to Grow Green Beans
One of the easiest and most rewarding vegetable crops for northern gardeners are green beans. Whether you call them snap, string, shell or dried, green beans grow relatively quickly, require only a bit of care and produce bountiful crops for fresh eating or preserving.
Pole vs. Bush Beans
Green beans come in two basic growing styles: bush or pole. Bush beans grow about a foot high in bushy plants that tend to produce their crops all at once. They are prolific and are popular with gardeners who like to can or freeze their beans. Popular bush bean varieties include Blue Lake, French Filet or wax beans. Pole beans are climbers, which means you typically can get more beans per square foot of garden. Climbing French is one of my favorite climbing beans. However, you do need to provide a support, which may be as simple as some bamboo poles lashed together or a length of wire fencing. Pole beans also tend to produce over a longer period of time, so if you are growing beans mostly for fresh eating, pole beans are a good option.
Planting, Growing, Harvesting
Beans should be planted in the sunniest part of the vegetable garden. The primary key to success with green beans is to not plant too early. Beans want the soil to be warm, and if it is damp or cold, the seeds will just rot in the ground. Place the seeds about 3 inches apart and 1 inch deep for bush beans. Pole beans can be planted about an inch deep around the support system. Beans do not require a lot of fertilizer, but if you know your soil is depleted, you could add some compost or a formula specifically for vegetables. Water the seeds well and maintain consistent moisture while the beans germinate. Beans need about an inch of moisture a week.
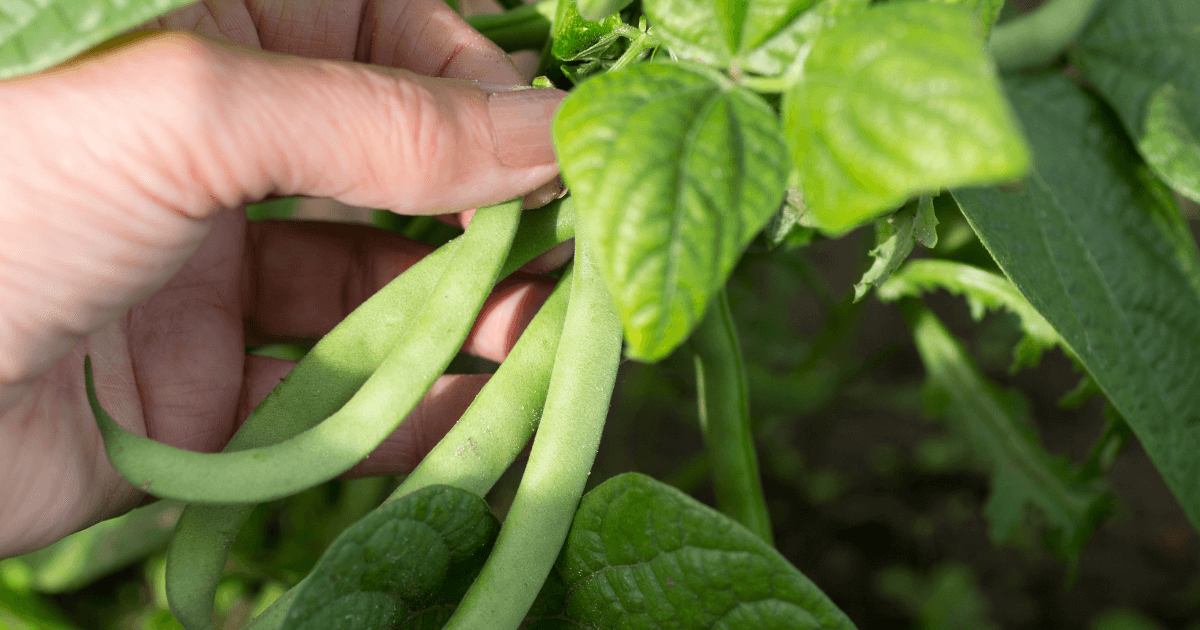
The seed packet will tell you how long to wait before harvest, but many beans will be producing a crop within 50 or 60 days. Once the beans start coming, be sure to harvest regularly. Picking the beans indicates to the plant that it still needs to set seed to reproduce, so it will continue to produce beans. If you want to harvest some dried beans or seeds from your plants, let the last batch of beans remain on the vines until the pods are dried and yellowed. The seeds inside can be saved until next year. Some beans are intended for drying (or can be eaten either fresh or dried). Those beans, such as Cherokee Trail of Tears, Rattlesnake and Cannellini, can be left on the plants until they are dry, then remove the dried beans for your next batch of chili or baked beans.
Pests and Diseases
The biggest pest I have found with beans are rabbits, who have a nasty habit of munching the top off of seedlings as they emerge from the soil. Fencing or other cover is about the only way to keep them off the beans. Cutworms or bean leaf beetles can also be a problem. Beans can also be bothered by fungal diseases, but these can be reduced by not crowding the vegetable garden so there is adequate air circulation.
For a more in-depth discussion of green beans, University of Minnesota Extension has fact sheet worth exploring. The recipe for the green bean salad is here.
You may be interested in:
Growing a Garden with Children
With nearly all children doing online learning these days, parents (and teachers!) may be looking for ways to keep kids busy and learning without a…
What to Grow in Your First Vegetable Garden
Time at home and concern about the global pandemic have prompted a lot of folks to consider planting a vegetable garden this year, maybe for…
Minnesota Green and Peace Lutheran Church
This article by Becky Grefthen originally appeared in the November/December issue of Northern Gardener magazine. Since 2016, Peace Lutheran Church in Coon Rapids has been…