


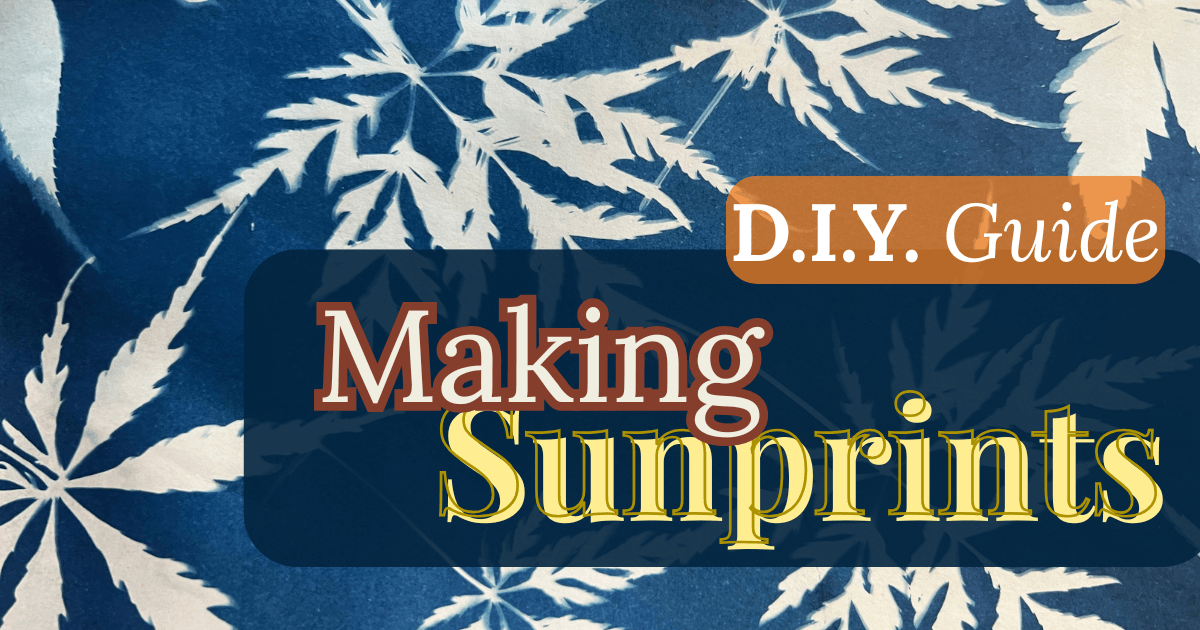
DIY: Making Sunprints
Sunprints are a fun and easy way to make your own garden art, and the results are bold and beautiful pieces worthy of decorating your walls. They’re also a perfect way to record what’s growing in your garden.
The history and science of sunprints
Formally known as cyanotypes, the process is steeped in nostalgia, stretching back to 1842 when the process was discovered by a Sir John Herschel. Not much has changed. A solution of potassium
ferricyanide and ferric ammonium citrate is applied to a porous surface like watercolor paper, fabric or wood. Then, it is exposed to ultraviolet light such as the sun. When rinsed under cold water, water-soluble iron salts are washed away. Any part of the print exposed to light turns a striking indigo blue, known as Prussian blue, while the covered areas remain white. The process is reminiscent of developing photographs in a dark room.
Sunprints involve placing opaque or slightly opaque objects on the paper, fabric or wood treated with the chemical mixture and exposing it to sunlight. Prepared pieces of paper with the solution already applied make the process simple— allowing you to skip working with the chemicals and focus on the placement of the images to make the piece.
Amazon carries many options for prepared paper, though I’ve not been able to find it locally at craft stores. Kits that include the two solutions to mix together are also available if you would like to create on fabric or wood. In this guide, I will focus on the process of creating a sunprint using already-prepared paper.
D.I.Y. Guide to Making Sunprints
Step 1: Selecting objects for the print.
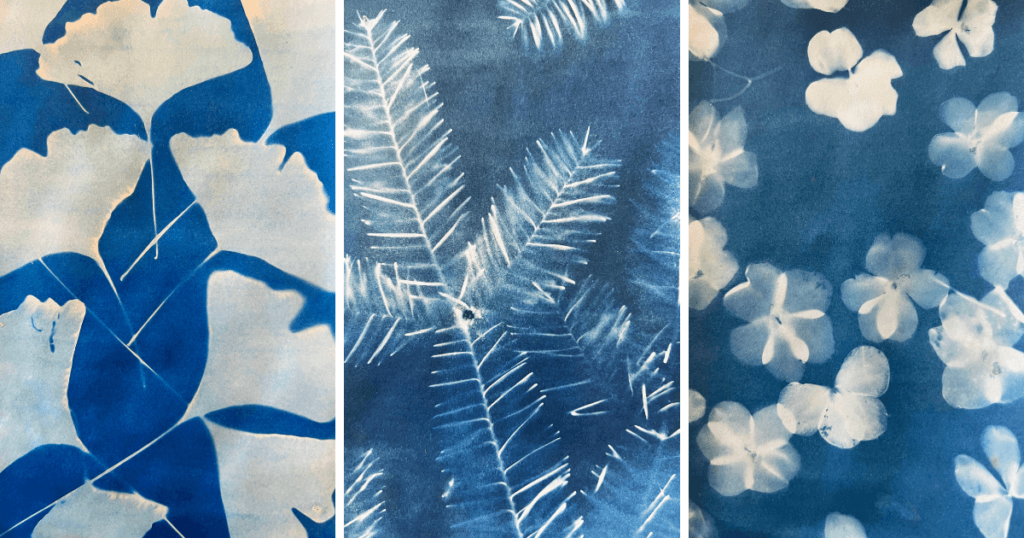
Anything that blocks the sun works. Objects with a mix of positive and negative space make the most interesting pieces. In the plant world, I have found ferns and palms and Japanese maple leaves to be very effective because of their intricately detailed structure. I’ve also had luck with groupings of impatiens flowers.
When allowed to sit in the sun for a at least 20 minutes, light partially makes its way through the tissue-thin leaves and helps to create a variety of shades and lines and textures. Spruce clippings work fairly well. Generally, flat objects work best. It’s easy to lay glass or an acrylic sheet on top of them,. This will press the objects down and create sharper edges and more contrast between the white and blue. The cover also keeps the objects from blowing away.
That said, 3-D objects can also create interesting effects with blurred lines and shadows. Plan on a lot of experimentation with object choice and arrangement. Pieces that are not to your liking as art can be used as gift wrap or for other craft projects.
Step 2: Arranging the pieces
Don’t think too much. Science and happenstance do most of the work, but consider clipping
and trimming pieces if needed. Also, try placing some of the objects so they are partially off the page. You can arrange a grouping of opaque objects with appealing shapes, like ginkgo and monstera leaves, in a pattern to create enough negative space to make it “pop.” Cover with glass or piece of acrylic. Because the paper begins to react the second it’s exposed, do the arranging in a dark room and keep the paper well concealed while storing.
Step 3: Sun Exposure
Full sun at high noon is the quickest, but later or earlier in the day, overcast days and even indoors works — it just takes longer. There are many bits of advice on timing out there I have found 15 to 20 minutes to produce good results, and overexposure is better than underexposure.
Depending on the pack of prepared paper you get, the instruction will vary. But remember, when making art, directions are only a suggestion. Try different lengths of exposure, as trial and error is how the magic happens.
Step 4: Rinse and dry.
The final step of the process is to rinse the piece under cold water until the water runs clear and the areas that were covered turn white. To conserve water in this process, I create a shallow bath in the sink and soak the piece for about 15 seconds. Then, I run water over it, gently rubbing the
sheet. “Squeegee” the piece by sliding it over the edge of the sink and place on a baker’s cooling rack to dry.
Don’t be surprised if you get bit by the cyanoprint bug. It’s an addictive process and it’s easy to find yourself making one after another on a sunny afternoon. An Internet search will show how people use the process to make large-scale prints, clothes and even napkins. It’s a limitless activity.
Additional Resources:
- For a sepia-toned, all-natural alternative, consider making a sunprint with turmeric powder and rubbing alcohol.
- Don’t Let Your Flowers Go to Waste—3 Creative Ideas to Try | Northern Gardener
- Official Sunprinting website
This article originally appeared in the Winter 2022 edition of Northern Gardener® Magazine.

Eric Johnson is a longtime contributor to Northern Gardener, blogger and lifelong gardener in Roseville, Minn.
You may be interested in:
DIY Tabletop Water Gardens
Soni Forsman’s article on do-it-yourself tabletop water gardens was one of the most popular items in the Spring 2023 issue of Northern Gardener® magazine (available…
DIY Pot Compendium
We gardeners are always on the hunt for the perfect pots for our beloved plants. The hunt heats up in the spring as our excitement…
Tips for Making Better Compost
Probably the most common advice given for improving your garden’s performance is to add compost. Compost improves soil fertility and texture. It’s packed with microorganisms…