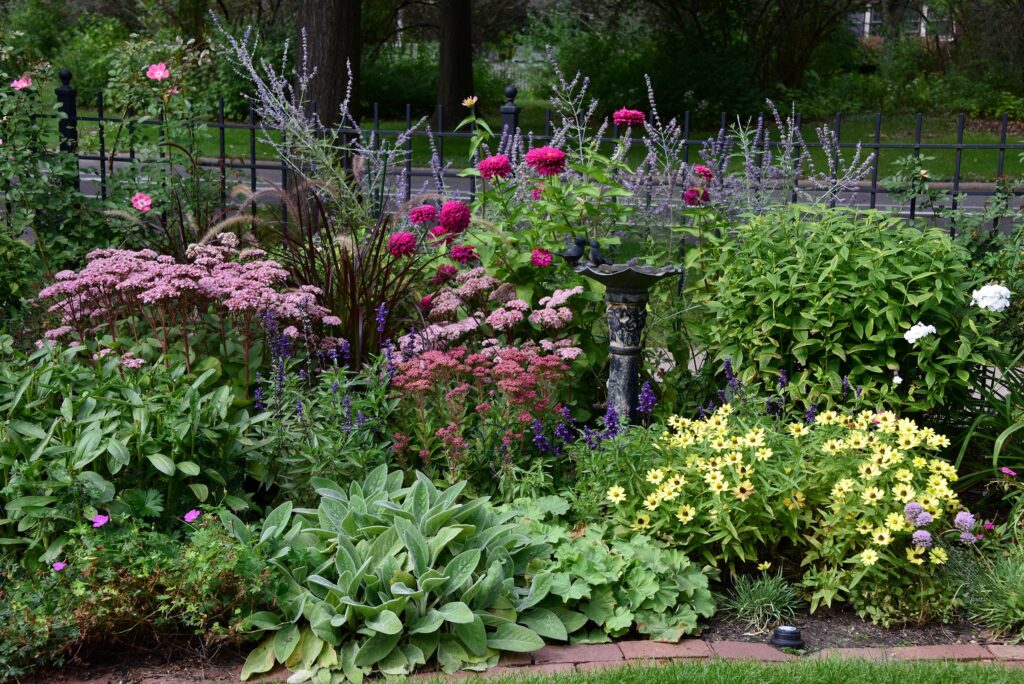
5 Tips for Taking Great Garden Photos
It’s time to grab your camera and head outside to photograph flourishing leafy and blooming gardens of any size during the month of July. Why? The annual Great Gardening Contest is back-just in time for summer’s peak colors.

Ready to play? Pick one of three contest categories: container, home or public garden (think community garden, business storefront or urban farm). Before Aug. 5, post your pic(s) on Instagram or Facebook, add hashtags #GreatGardeningContest2022, register online and look for the winner in each category in the winter issue of Northern Gardener magazine.
But before you take a shot, here are some tips for capturing just the right angle, light and subject matter. Best of all, you don’t need a professional single-lens reflex (SLR) camera. You can easily acquire a winning shot with your smartphone.

It’s best to avoid the harsh late morning to late afternoon sun. Shadows at that time of day are dark and distracting to your subject matter. What is the best light? Early morning or late evening. The light at that time is soft and complimentary. If those times don’t work, I recommend photographing on an overcast day. Even better: when the sun is behind the clouds diffusing the light. All four of these times of day will give you great results. Pro Tip 2: Angles
Standing at your height might produce a creative shot, but it’s best to move around. Photograph that small garden plot at both high and low angles. Don’t be afraid to stand on a step stool or get down on your knees. Maybe you need to step to the right five feet to catch a different perspective, or you might try photographing from the opposite side. Take lots of different angles at different distances, horizontal and vertical, then compare all the images to see which angle best shows off the garden.

Before snapping that shot, check your foreground, midground and background for distracting elements. Maybe there’s a garish spent bloom in the foreground, or patches of light in the background, or a hose running through the garden. You might need to change your position or alter the scene (assuming it’s your garden) to produce the perfect shot. Pro Tip 4: Leading Lines
Add interest to your frame using natural lines. A pathway is a perfect example. Show that path meandering through the frame then disappearing. Use the space between plants in the foreground to craft a frame making your garden subjects stand out and guide the viewer’s eye. Rows of vegetables or a fence line from foreground to background make for interesting focal points. Pro Tip 5: Editing
So you’ve taken a garden photo. What’s next? Smartphones come with editing features, so definitely use them to improve your favorite shot. Crop off what’s distracting and lighten or darken the overall image. I like to turn a dull image into something spectacular by adjusting the contrast.
I hope these simple tips inspire you to grab your phone, take some snaps of your garden and join the Great Gardening Contest. Want to learn more? Check out 12 great garden photo tips and more ways to grow your garden photography skills.
Do you have ideas for or questions about taking great garden photos? If so, please comment below.
Michelle Mero Riedel writes for Northern Gardener magazine and is a master gardener and professional photographer. “Never go anywhere outside without your camera,” she recommends. “And just when you think you got the shot, take more, lots more.”
Hungry for more? Join a webinar or workshop!
UPCOMING CLASSES
I agree with all your great tips, especially Tip #3. I see a lot of photos of gardens and plants in the various groups that I’m in, and the distractions in the photos are, well… distracting. Getting those odd things moved out of the shot before taking the photo makes a huge difference in the subject quality!
I’m only a hobby photographer, but I another tip I would add is to experiment with macro shots. In addition to photos of the entire garden or entire plant, getting those close-up shots of a plant adds so much interest. For example, take a macro shot of the center of a flower, or the patterns of the leaves with the sun illuminating the backside of the leaf, or even of the beneficial bugs perching on plants. Macro photograph opens a whole other world to a garden!
Another tip I like to use is to playing around with depth of field when taking photos of plants or gardens. Even smartphones these days have a Portrait mode that automatically blurs the background and highlights the subject in the foreground. Some of my best flower garden shots use this technique.
Taking photos of plants and gardens combine two of my passions – photography and plants! It sure is fun to take these shots.
Great additions – thanks!