
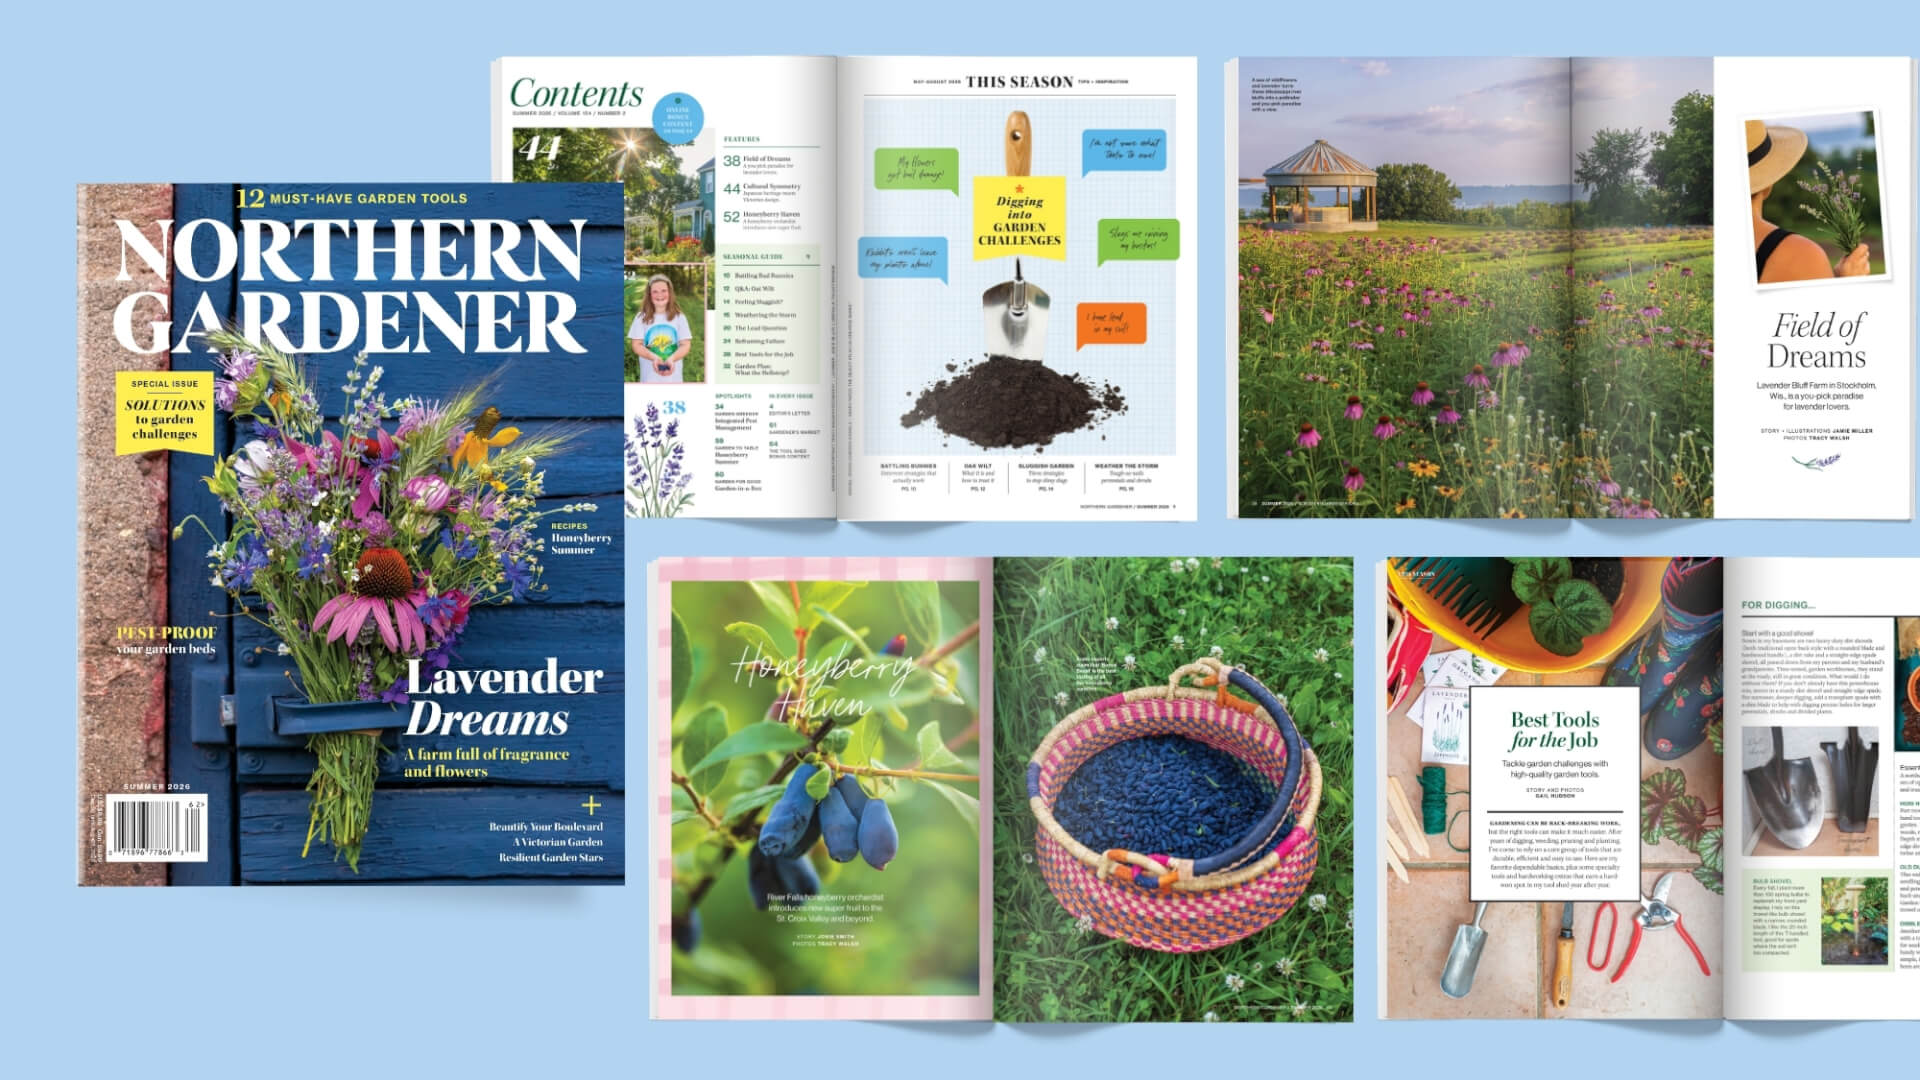
Garden challenges—what would our lives be without them? While hope may spring each year, by the summer it can feel tempting to raise the white flag. This season, face your trickiest tests head on with our latest solutions to garden challenges. Sometimes, all it takes is the right perspective—or just the right tool—to get to the other side of summer (mostly) unscathed.
IN THIS ISSUE

Battling Bad Bunnies
Rabbit damage reducing you to tears? Find some deterrent strategies that actually work.
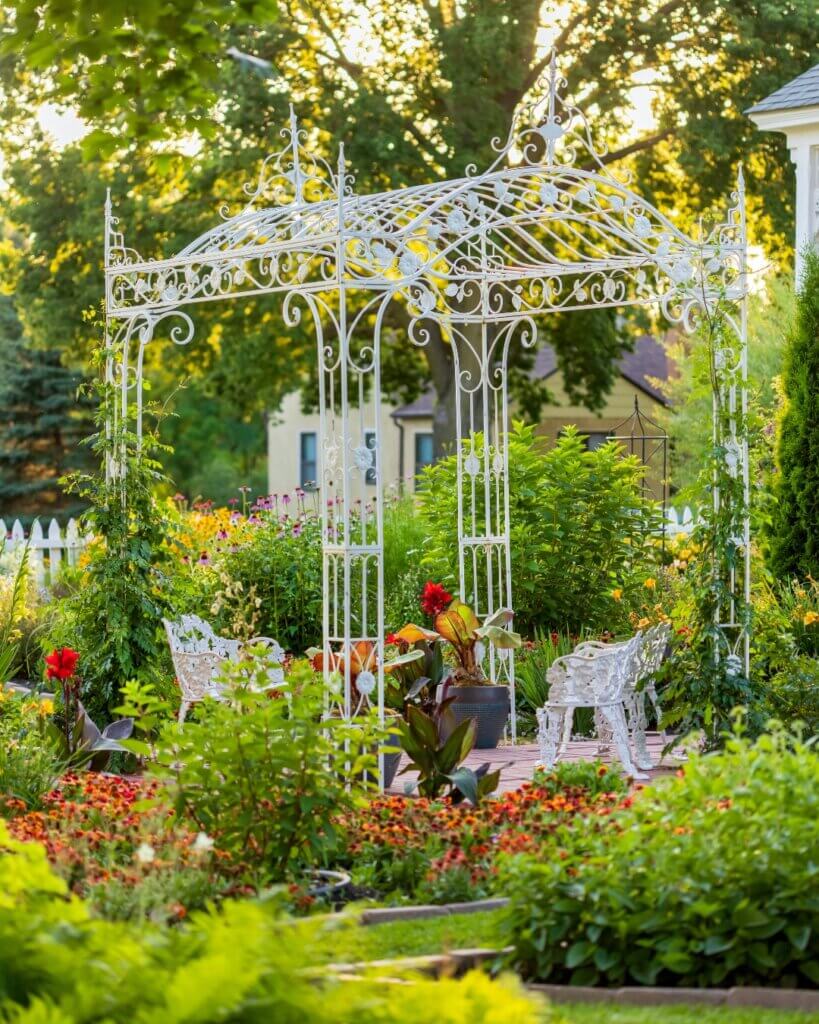
Cultural Symmetry
Japanese heritage meets Victorian design in this Twin Cities garden.
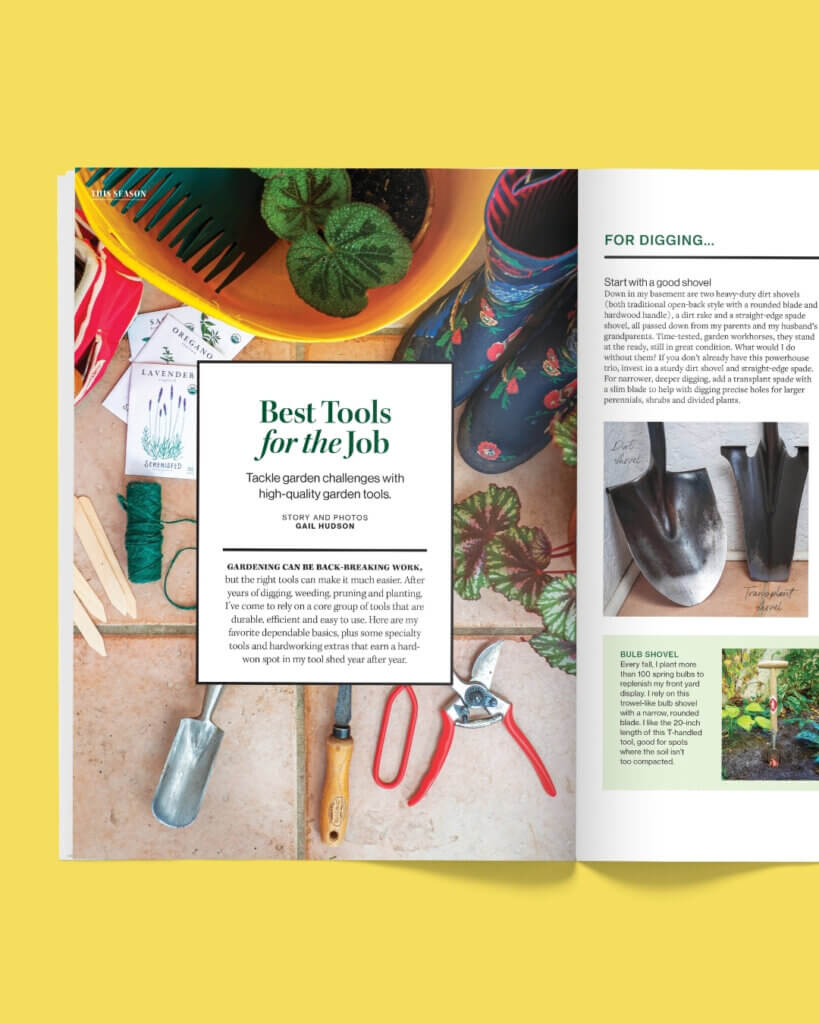
Best Tools for the Job
Make tackling garden challenges a breeze by having the right high-quality tools on hand.
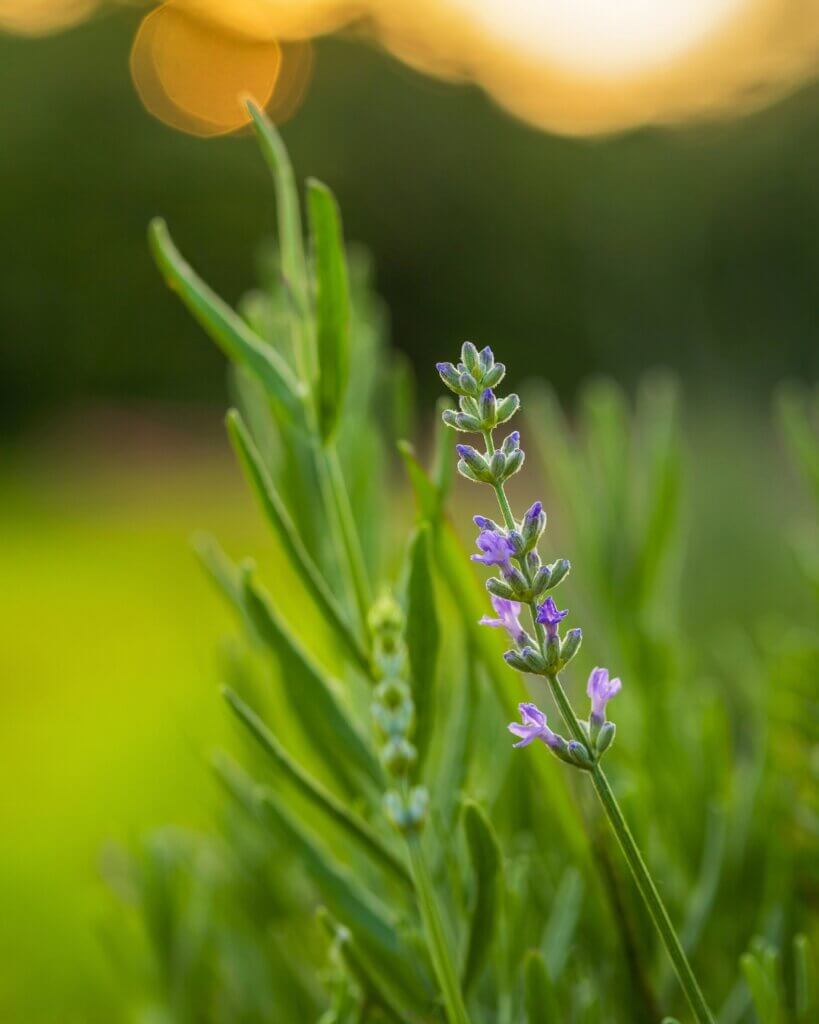
Field of Dreams
Lavender Bluff Farm in Stockholm, Wis. is a you-pick paradise for lavender lovers.

Honeyberry Haven
A honeyberry orchardist introduces a new super fruit. Plus: recipes for your harvest!
Q&A: Oak Wilt
Learn how to identify and treat this tragic epidemic.
Weathering the Storm
Explore a list of shrubs and perennials that can take it all when it comes to harsh weather.
‘Hellstrip’ Garden Planning
Get a diagram and a list of the best plants for a high-traffic boulevard garden.
Reframing Failure
Gain a new perspective on what gardening teaches us when things go wrong.
Start reading now
Become a member
Get four seasonal issues delivered straight to your mailbox and/or email. Bonus: receive our special Spring planning issue.
Read online
Members may log in and access this issue, along with many others dating back to 2019, completely online.
Buy the issue
Find the current issue on newsstands across the Upper Midwest or directly through our online shop.
READERS ARE SAYING…
“We LOVE the magazine. I gave it to my son—now he renews on his own.”

KAY F.
Fergus Falls, MN
READERS ARE SAYING…
“Wow! Fascinating, beautiful covers, one interesting story after another, THE GORGEOUS PHOTOS, accessible and valuable information complete with what the reader needs to pursue more. I’m so impressed. Brava!”
PAM K.
Roseville, MN
READERS ARE SAYING…
“One of my favorite magazines and best membership purchases!!”

MARLANA W.
Perham, MN
READERS ARE SAYING…
“Unbelievable publication, such a wonderful read.”
KAT H.
Minneapolis, MN
READERS ARE SAYING…
“A fantastic Minnesota gardening magazine for USDA Zones 3-5.”
MEG C.
Orono, MN
READERS ARE SAYING…
“Love this mag! So full of great intel for us northern gardeners.”

JAMIE M.
Maple Grove, MN
READERS ARE SAYING…
“Your website and wonderful magazine are my best resources for information on gardening in Minnesota. Thank you for your continued dedication to providing the best educational materials for gardeners.”

TONI H.
Minneapolis, MN
Books
Note: As a Bookshop.org associate, the Minnesota Horticultural Society earns money from qualifying purchases, which we put right back into furthering our mission.
advertisement

Advertise With Us
Want to put your business in front of thousands of northern gardeners? Explore advertising and sponsorship opportunities—contact Betsy Pierre at (763) 295-5420 or betsy.pierre@ewald.com.
Support our mission
Help us provide access to expert resources and support community programs for all cold-climate gardeners.
Get inspired to garden
Join 25,000+ northern gardeners receiving our bimonthly Garden Journal e-newsletter packed with cold-climate tips.