

Soil Blocking Basics
Ed. note: This article supplements a larger feature on growing a global garden in the Spring 2025 issue of Northern Gardener. Get access to the back issues here.
Soil blocking makes good garden sense for so many reasons. It’s easy to see why this method for seed starting has been gaining fans over the last few years. This method compresses soil into a pot-less cube. And yes, they really stick together!

Benefits of Soil Blocking
- It creates a great environment to start off the healthiest plants.
- It automatically air prunes the roots that reach the end of the soil.
- It practically eliminates overwatering your seedlings.
- There is less transplant shock.
- It’s eco-friendly; reducing plastic because soil blocks don’t require any pots.
- It saves space (both because there are no pots and they grow closer together).
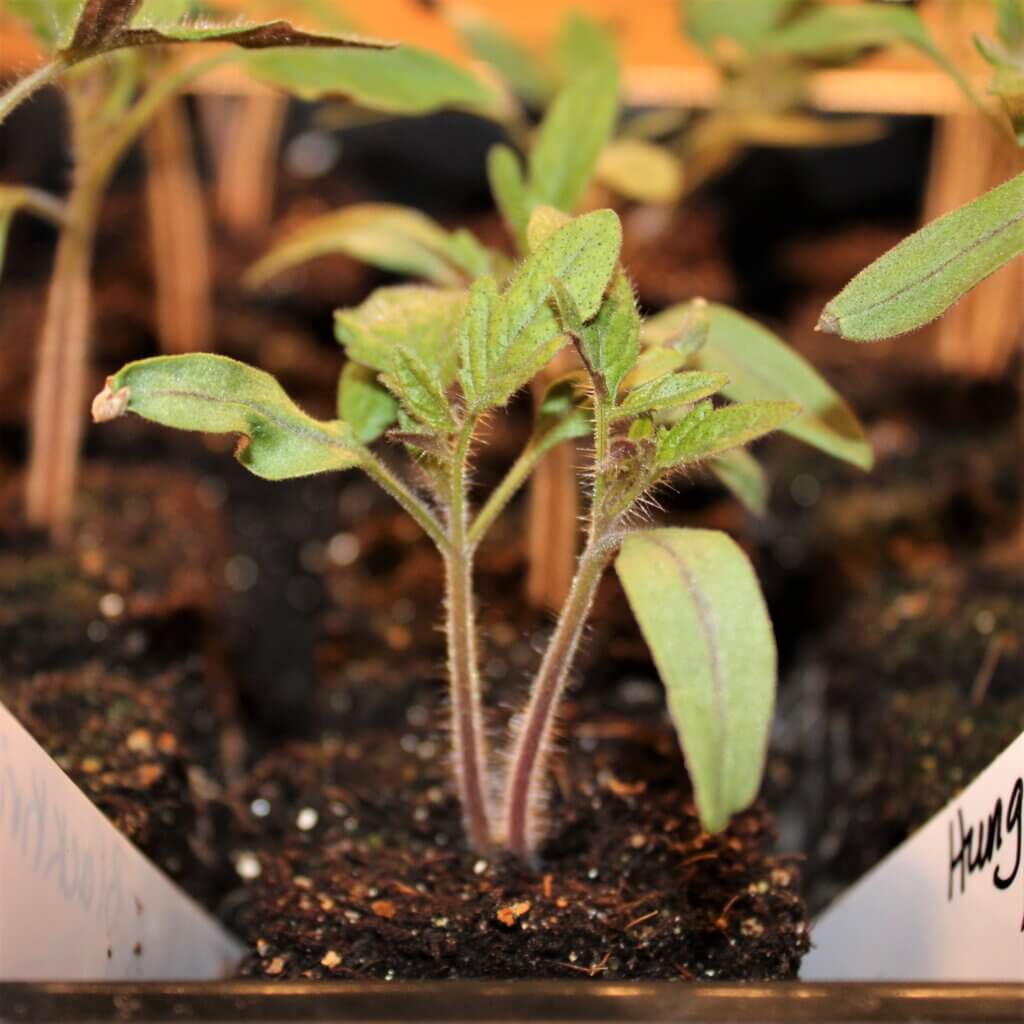
The supercharged plant health happens because the automatic air pruning stimulates more root growth at the base of the plant. The more roots close to the main plant, the healthier the plant. Also, no chance of roots circling around and around, because again, no pot to constrain them.
Soil Blocker Basics
Soil blocking presses come in a few different sizes depending on what kind of seeds you’re starting. For example, use the press that makes four 2”x 2” soil blocks to fit thirty-six soil blocks in a common 1020 seed starting tray. Different companies sell different sizes, and most of them nest into the larger sizes, as the presses also create different sized seed-planting divots, called dibbles.
The trick to getting the best soil blocks is starting with the best soil mix. Traditional pre-bagged seed starting mixes are hard to get to hold together enough, although if you have that and some compost you can give that a whirl, as I’ve had some success there when I ran out of my soil blend for soil blocking.
Here’s my recommended soil blocking blend…
Best Soil Blocking Blend
- 3 parts coconut coir
- 3 parts peat moss (*or 2 parts wool pellets)
- 2 parts compost or 1-2 parts worm castings
- 2 parts perlite
- 1/4 cup blood meal
- < 1/4 cup bone meal
- < 1/4 cup Azomite (aka rock dust)
I suggest soaking the coconut coir and the wool pellets (if using) for at least 2 hours prior to making this blend. The coir will continue to absorb water and expand, and it can suck moisture away from the rest of the mix if not fully saturated first. If using peat, it’s ok if it is a little dry but not so dry it repels water.
You’re looking for a consistency near wet cement, much more saturated than soil we’re used to working with. And you’ll want to have a bin or flat-bottomed bucket (not too deep) to work in, especially because when us norther gardeners are starting seeds, it will likely be indoors!
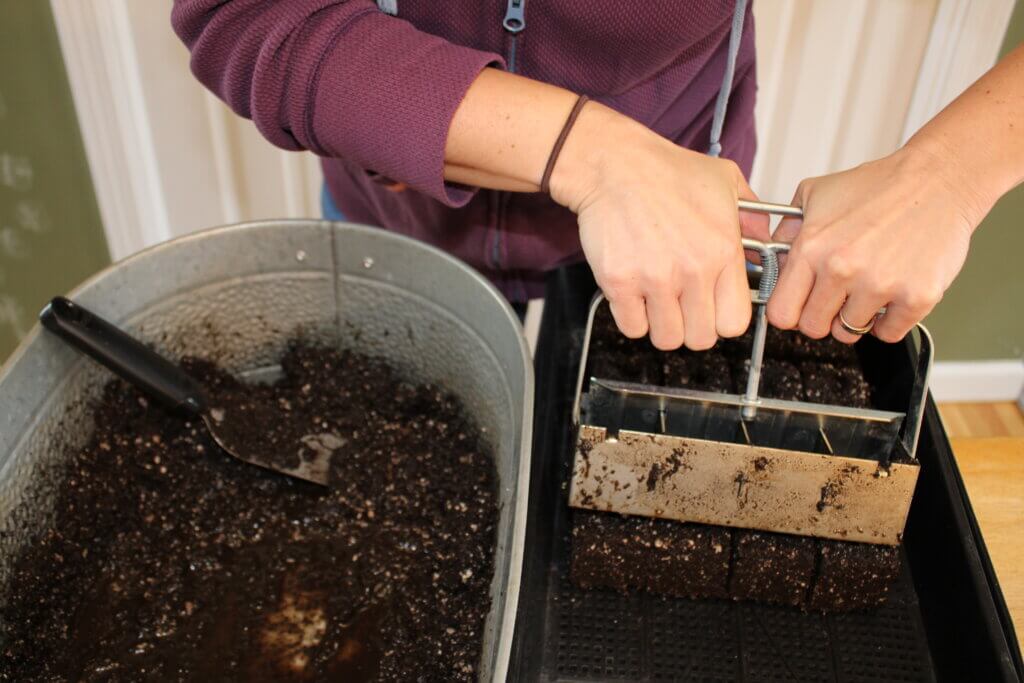
You’ll basically work as much sloppy soil into the press as possible, then press firmly down, compressing the soil and likely squishing out a little excess water. Seeing a little water escaping during the final press is always a good sign for me.
Then move the press to above the tray where you’ll be starting the seeds and push out the soil blocks. They should pop out quite easily. But no worries if one didn’t fill in or compress enough to hold together, you can just scoop that one out and throw the soil back into the main bucket.
But, since there’s nothing like seeing the process, here’s a look at what my soil blocking routine looks like:


Michelle Bruhn is a Minnesota gardener, writer, speaker, local food advocate and co-author of Small-Scale Homesteading (Skyhorse Press, 2023).
You may be interested in:
Soil Texture: What Texture is Your Garden Soil?
Have you wondered what the importance of soil texture is, and what kind of soil you have? Understand soil texture basics with this resource.
Living Soil, Healthy Garden
Create a healthy garden by understanding soil health and applying these tips from the University of Minnesota.
University of Minnesota Soil Testing Lab
The experts will tell you over and over again, “Get a soil test.” Bringing your soil sample to the University of Minnesota will provide you with science-based accurate results and recommendations for your specific needs. This resource will tell you how to gather a sample, where to bring your soil, and what to expect.