
Keeping a Modern Root Cellar
It’s simple, really. I prefer the easy road. Grab a carrot, a couple potatoes, maybe an onion or garlic and cook a simple family dinner. Whether it’s August or the middle of February, I like my vegetables homegrown and fresh. And that’s why my family built root cellars to help store the harvest from our one-eighth acre vegetable garden.
Root cellars are simple, practical and a little romantic. A passive refrigeration system that extends our undeniably short growing season deep into winter is like having your own daily farmers’ market.
Root Cellar Basics
You need three things to grow a root-cellar garden: space, careful timing and most importantly, proper storage.
Plenty of Space
Our former city lot was too small to grow enough food for year-round eating, but on a larger suburban lot we have room to grow much more. We currently have about the same amount of space as our prior lot had in total in a fenced vegetable garden to keep out deer. Some deer-resistant vegetables, such as onions and leeks, are planted outside the fence. Having this much space makes the concept of feeding ourselves year-round so tangible that we want to taste that freedom. We are not nearly there yet, but each year we adjust our fall planting schedule to give everything the best chance possible to mature before winter sets in.
Timing and Seed Starting
To have a root cellar, you need to grow the right food at the right time. We really enjoy the planning process, mapping out square footage requirements for each vegetable. We plant a diverse lineup of food, and keep planting all summer long, starting plants from seed throughout the summer. Succession planting is key to having food for the root cellar garden. About one-third of our summer and the vast majority of our fall garden harvests go into the cellar.
The first seeds destined for the cellar get sown outdoors as early as mid-April, and continue to be sown through August. Root cellar carrots are sown late-June through mid-July, in beds where spring cabbage and broccoli have been harvested. Brussels sprouts are space hogs but a holiday tradition in our family, so they get their own garden space from May until November. Potatoes and butternut squash take a full season, too, requiring dedicated area. Onions and garlic go into the garden early and come out in time for fall crops such as lettuce, peas, celery and radishes. It’s a bit of a vegetable waltz, and starting most vegetables indoors under lights four weeks before transplanting is how we are able to maximize harvests for the cellar and our summer table.
Storage Styles
Finally, for successful root cellar keeping, you need two types of storage to maximize your efforts: damp and dry.
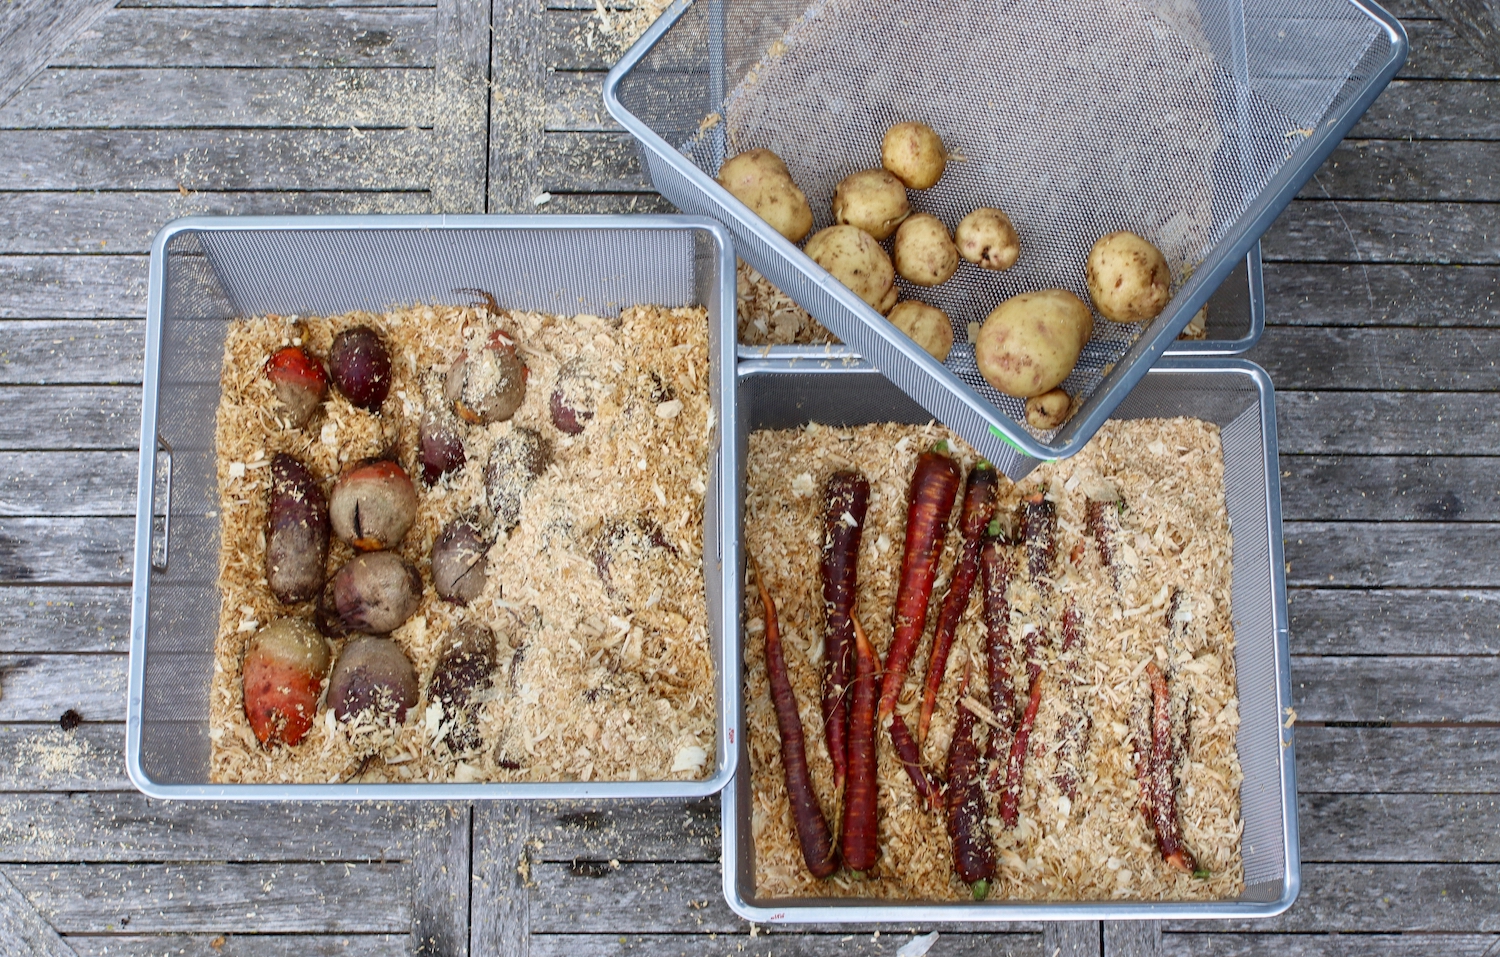
Root vegetables require similar conditions to their outdoor growing situation: a dark, moist environment where humidity approaches 100 percent. Imagine creating a space that emulates still being in the ground after a fall frost. It’s chilly, but not freezing. You’re surrounded by damp but not soaking soil, and it’s pitch black. All those edibles you’ve plucked from the ground like potatoes, carrots, beets, parsnips, rutabaga, winter radish and so on require a storage area that is consistently dark, humid and chilly to remain at peak harvest conditions. Included in this damp environment are cole crops and leeks in addition to fruits such as apples and pears.
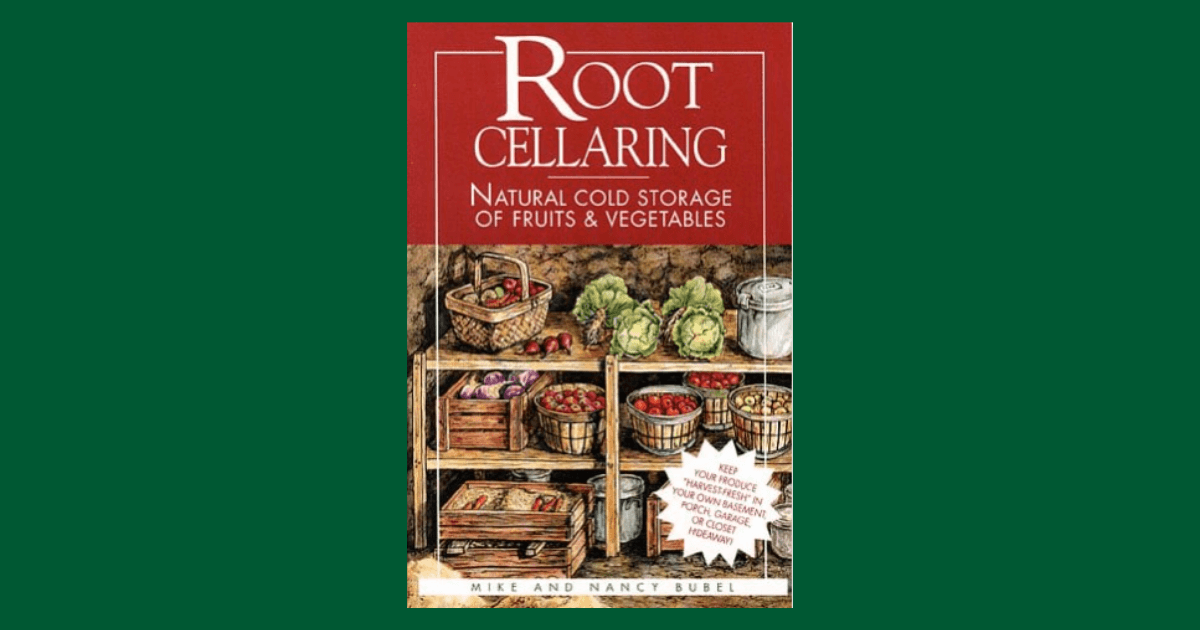
While the term root cellar probably elicits memories of your grandmother’s musty basement where jars of preserved fruit, canned tomatoes and dilly beans mingled with bins of onions and burlap sacks of potatoes, root cellars can take on many shapes, forms and locations. Our root cellar is located above ground in our garage. It faces southeast making it less than ideal due to warmth from the sun. To ameliorate the solar gains, which are a foe to food storage, we insulated both the walls and ceiling really well, loosely following the guidelines laid out in the wonderfully informative book Root Cellaring (Storey Publishing, 1991) by Mike and Nancy Bubel.
We selected materials that would not absorb moisture, thus minimizing any possibility of mold establishing in this high humidity environment. For the walls, we installed foil-lined insulation panels and used metal HVAC tape in lieu of sheetrock and mud. For the shelves, we invested in metal shelving systems and metal baskets instead of wood. We built this to last for decades to come as we hone our skills and perfect our systems for eating fresh during the summer while growing plenty of vegetables that can be easily stored for later consumption.
To monitor humidity, we have a digital thermometer with a hygrometer. This is a must-have for a root cellar. A less ideal way to measure interior moisture of your cellar would be the firmness of your roots, though once they begin to lose moisture, they won’t regain it. And that’s not a risk worth taking after all that effort to grow our own food. We embrace the blending of modern technologies such as a digital hygrometer with the traditional practices of storing garden harvests with minimal processing.
Carrots, winter radishes, turnips, beets, daikons and the like all require damp bedding for storage. Sand is a common medium used, but we chose fine sawdust from our local farm supply store. We dampen the sawdust evenly, alternating layers of sawdust with a single layer of vegetables. Between layers we fully cover the vegetables with more damp sawdust and repeat. As the winter wears on, you dig deeper and deeper for carrots until one day you’re left with simply sawdust in the bin. It is deeply satisfying and delightful meal prep task to wander out to my garage for garden-fresh produce on a sub-zero day.
Dry Storage
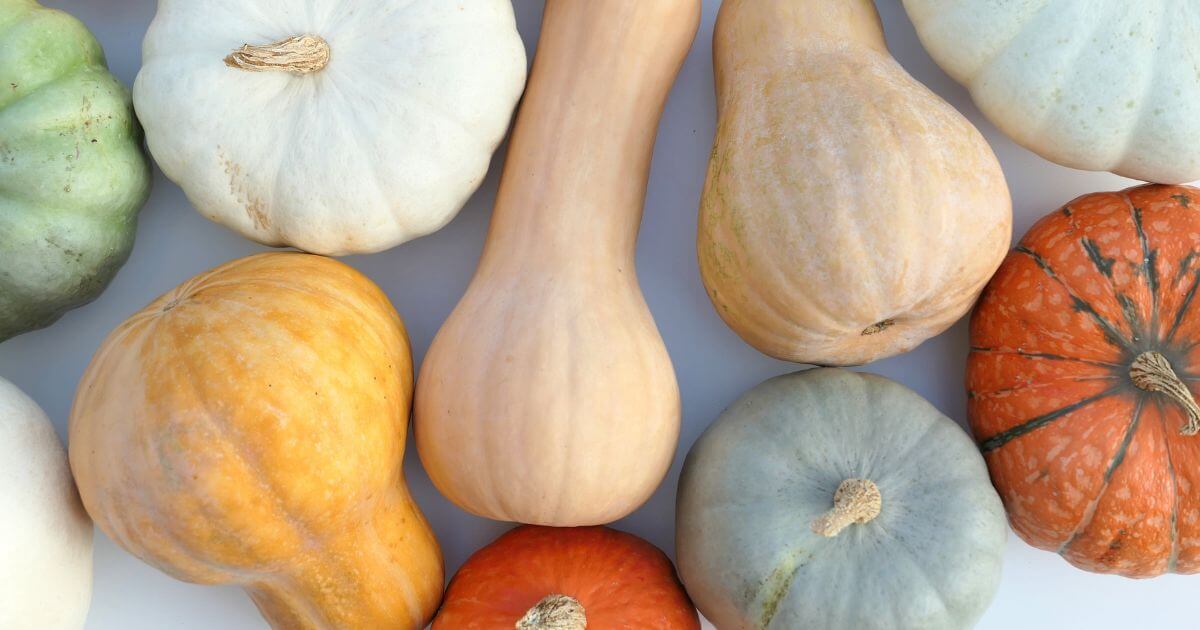
Not all vegetables store well under high humidity. Some require warmer, drier conditions, which makes storing them much easier with significantly less investment and effort. Imagine the inside of your dry, winter home, where humidity is naturally low—that’s where you’d tuck crates of these vegetables in dark corners where temperatures are consistently a bit lower than the rest of your home. Vegetables in this category include onions, garlic, shallots, winter squash and sweet potatoes.
Because it was a no-cost option, putting up vegetables in a dry cellar is where we began our root cellar journey three years ago. A dry root cellar doesn’t need to be a large or dedicated space, especially if you have a small kitchen garden. Just toss some cured onions into a milk carton and set them in a corner of your entryway. It’s not attractive, but works just as well as cleaning out your draftiest closet for bins of vegetables. I’ve done both.
Rooted in Joy
I don’t anticipate ever being fully self-sufficient, but exploring food storage and the self-imposed challenge of feeding ourselves for as many months as possible throughout the year drives our yearning to expand what is possible in a northern climate. It grounds me in all the best ways, highlighting the beauty and abundance surrounding us every day, especially when a carrot sown by my children on July 1 is casually plucked from a storage bin in our root cellar in the middle of a February blizzard and is as sweet, crunchy, and fresh as the day we harvested it in October.
Meg Cowden is a self-taught gardener, writer and photographer, who has grown to love northern gardening. Her book is Plant Grow Harvest Repeat (Timber Press, 2022)

Hi,
thanks for all the info. What do you do with the sand you store root crops in, after it has been used once?
Do you reuse it?
do you dry it out?
do you just replace it every year? ugggggg
thanks,
Glenn