

How to Build a Low Tunnel
With our erratic spring weather, one of the best investments a vegetable gardener in Minnesota can make is in a low tunnel. And, these season extenders are not hard to build or very expensive.
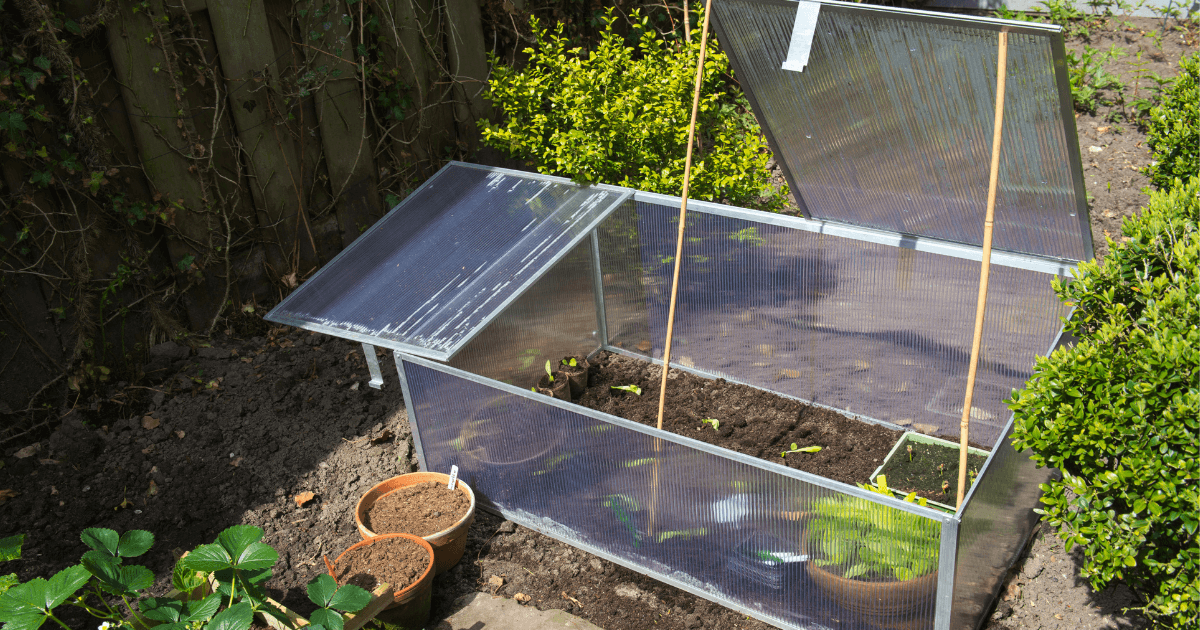
What is a Low Tunnel?
Low tunnels are temporary structures, typically made of wire or PVC pipes with a plastic sheet or a cloth or poly row cover over them to concentrate sunlight and warm the soil beneath. They can be used to get a bed ready for planting quicker than it might be during a cold spring, such as the one we are having now. You can also plant seeds of cool season crops like radishes, peas or lettuce under the tunnel for quicker germination and protection from cold spells. Gardeners can also use low tunnels to harden off seedlings that have been started inside or to protect young plants after they have been transplanted.

Should I Build or Buy a Low Tunnel?
There are many options to purchase low tunnels available online at different price points, but they are also easy to set up yourself. Most low tunnels are 3 to 4 feet tall and 3 to 6 feet wide, but you can set them up in the size of your rows or raised beds.
For a simple low tunnel, purchase 8 foot lengths of 1/2 inch wide flexible PVC or conduit piping, 1/2 inch wide steel rebar, 18 inches long, and plastic sheeting. You can use the inexpensive sheeting you get for painting projects, but if you can find 6 mil greenhouse plastic that works best. Plan on placing a hoop with two rebar supports, opposite each other, at least every 4 feet.
Pound the rebar into the ground 6 inches down and slide one end of the piping over the rebar, then bend the piping and place it on the rebar on the opposite side of the row. While not essential, you may want to add a support beam across the top of your low tunnel to keep snow from collapsing it.
After you set up the structure, cover it with the plastic sheeting. You may want to use PVC clips to hold it in place. Pull the sheeting tight and be sure to weigh it down with bricks, soil or sandbags to prevent wind from lifting the sheeting.
If you have raised beds, an alternative to using rebar stakes is to clamp the piping to the outside of the bed using clamps you can get at the hardware store. This method also works, if the ground in your raised bed is still frozen.
Once your low tunnel structure is in place, you can use it covered with row cover to keep out insects as well as add shade.

Great job!
Thanks, Sarah!
How do you monitor and regulate the temperature inside a low tunnel?
You have to pay attention to the tunnel and open it up on sunny/warm days. It does require regular monitoring, but it’s only for a few weeks, so it’s not too difficult a task. I monitor soil temperature with a soil thermometer. Some gardeners will stick a regular thermometer in the tunnel to monitor air temperature.
Any special tricks for getting access for monitoring and harvesting the plants. Does the plastic cover break down too soon if you have to keep clamping and unclamping it?
You do have to unattach and reattach the plastic. I use 6 mil greenhouse plastic, which is tough. It doesn’t break down or tear. I’m not sure how a very lightweight plastic sheet would hold up — depends on the wind in your area, too!
Great tips on building a low tunnel! I loved the step-by-step instructions and the detailed material list. Can’t wait to get started on my garden this season! Thank you for sharing your expertise!