


Check Your IDs: Plant tags that look good and survive in the north
We all know how handy it is to read a plant marker when visiting a public garden. How else will we identify the plants we swoon over? Deciding how to mark and label the plants in your garden seems to be as personal a choice as selecting the plants themselves. Here are a few ideas for plant tags, both humble and grand, to incorporate into your yard and garden.
Our plant tag picks
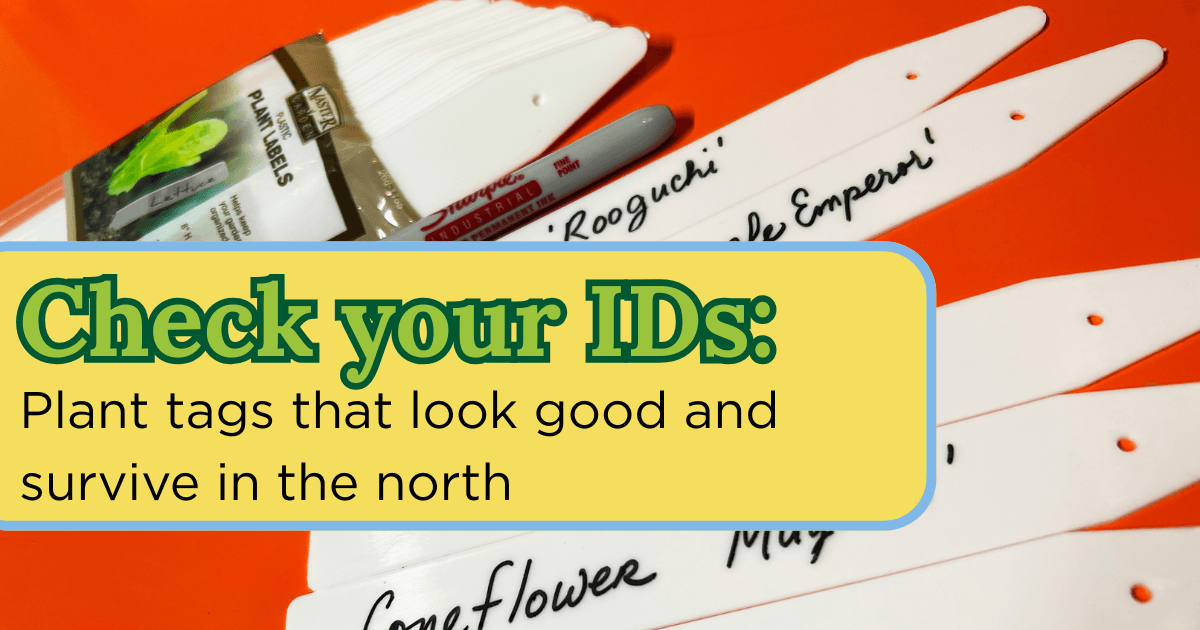
Plastic plant labels.
These are my go-to for labeling plants. They come in a variety of sizes and shapes and are readily available. They are made of PVC plastic, making them less prone to breaking and becoming brittle. My preferred size is 8 inches long, which provides enough space to write long botanical names and still have enough stake to send a couple of inches into the ground.
You’ll also need water-resistant markers or oil-based pens to keep the labels visible. I am a fan of the Sharpie Pro marker that is made to write on PVC (as well as metal, wood and steel). Together these tools create labels that are easy to read, durable over many winters and fairly inconspicuous in the planting beds. PVC markers also come in more decorative shapes.
Copper and steel options.
For a more permanent marker, search for copper and galvanized steel options online and in garden stores. A bit pricy, these mimic the plant markers in arboretums and
public gardens.
Get crafty
I’ve had success—and fun—crafting plant markers using two popular hobby utensils: a wood burning tool and metal letter punches.
Metal punches or stamps create striking plant markers.
Also available at craft or hobby stores and many hardware stores, they are metal rods, like thick nails, with letters and numbers on the end that you place on a piece of metal and strike with a hammer to create an impression of the letter. It’s easy to learn to work with them and it’s easiest to
work with softer, more malleable metals like aluminum and pewter.
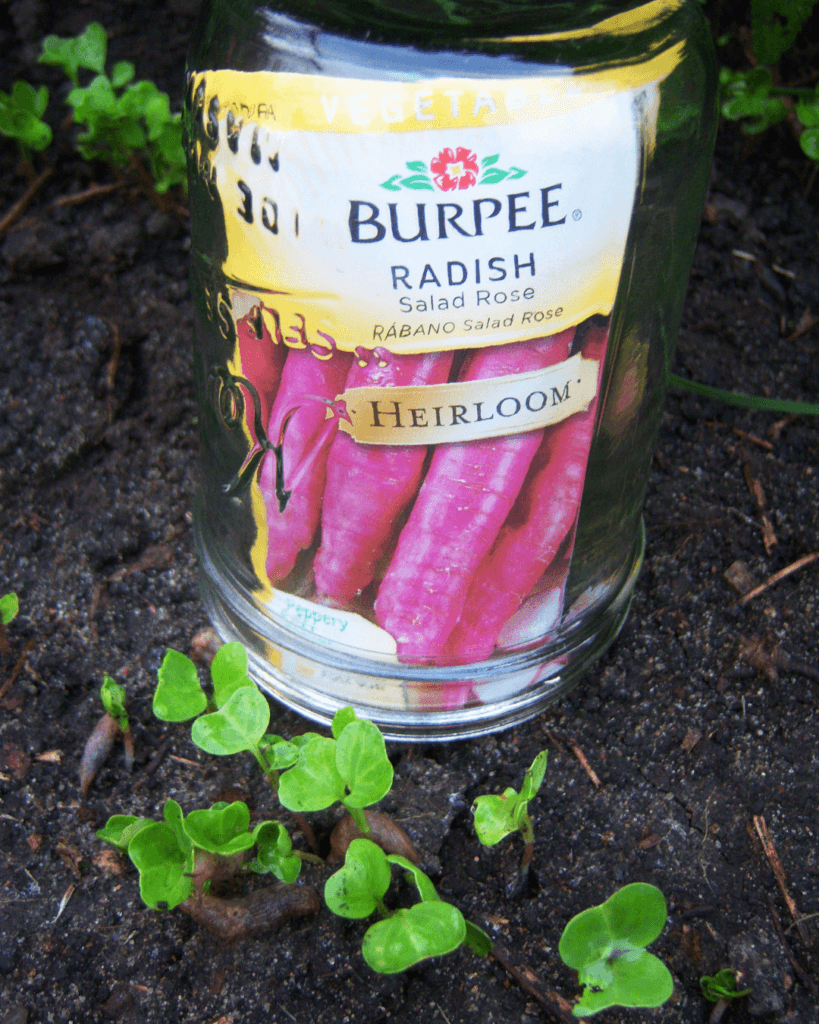 Use the materials you already have around the house to make this easy seed packet plant label.
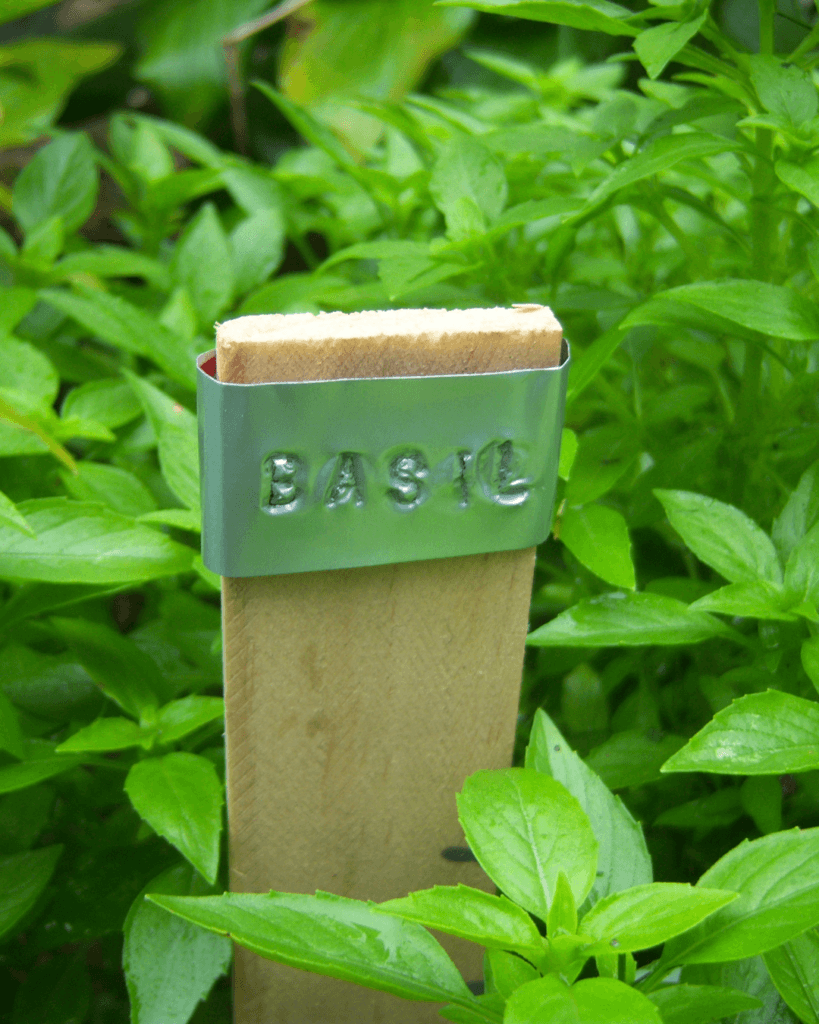 Hammer metal letter stamps on a soft metal (like aluminum) to make bespoke DIY plant tags.
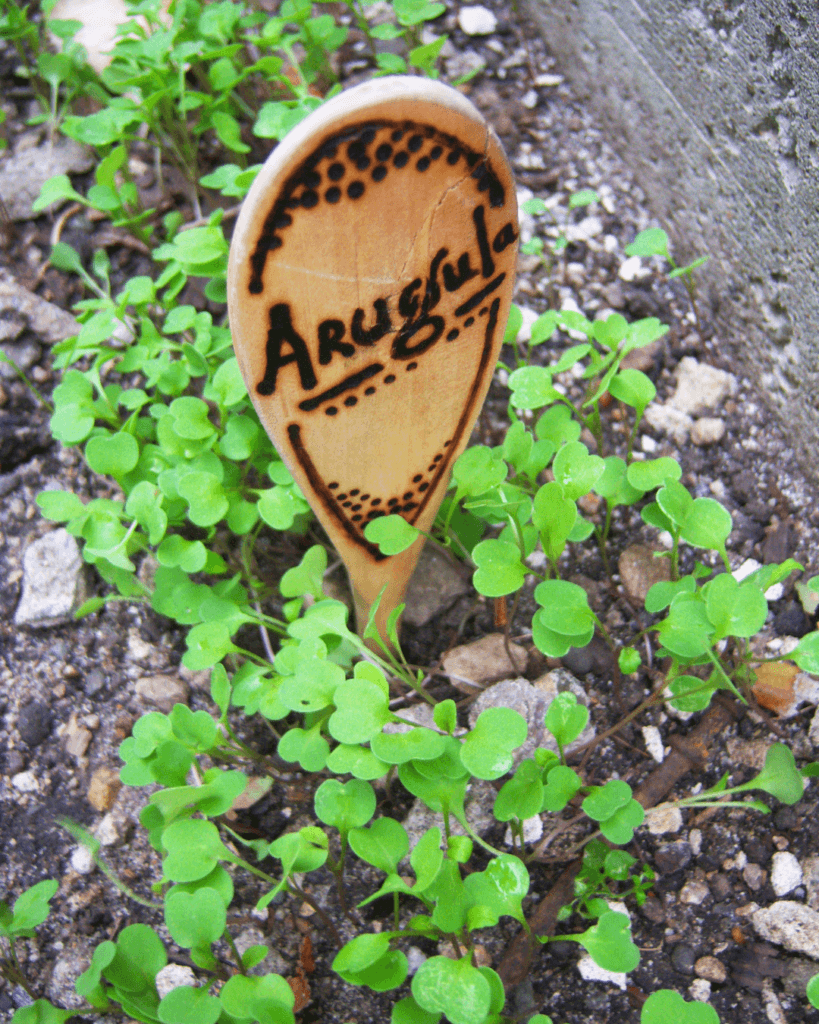 Use a wood burning tool on wooden spoon to create a “cottagecore” themed tag!
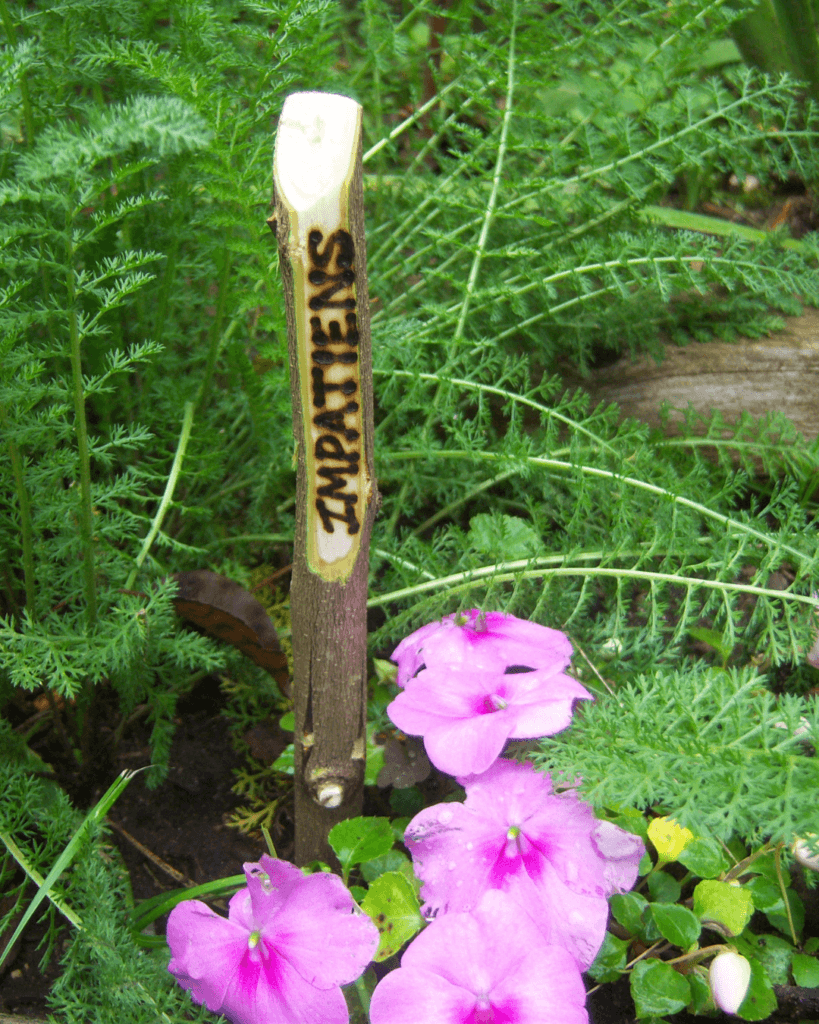 For a rustic vibe, try using a wood burning tool to engrave a stick into a plant label.
Wood burning.
The wood burning tool is inexpensive, as little as $20 for a simple one at craft or hardware
stores, and requires only close care and patience. Rushing is the enemy of wood burning. Smooth wood surfaces are the easiest to work on and produce the sharpest results. I’ve used wooden mixing spoons with great results. In the example with the twig, I took a sharp vegetable peeler and sliced away a few layers to create a smooth surface to burn. Practice a while to get a feel for
the process.
Canning jar cover.
A quick and easy plant marker is a stick in the ground with the empty seed packet slipped
over it. Then, cover it with an inverted canning jar (or leftover pickle or jam jar). It protects the seed packet from rain and watering and creates a vintage, homespun look.
What to ID?
I don’t love the look of highly visible markers in perennial beds, and I find them annoying to weed around. That said, I do label perennials in the first years after planting. This is most important during the first winter to track whether they survive. What else do I label?
◆ Late sprouters—Baptisia comes to mind—so I don’t damage the emerging shoots during spring garden prep.
◆ Annual vegetables and flowers directly sown in the garden, if for no other reason than to know where the ends of the rows are.
◆ Annual starter plants I try every year, so I know which to plant again and what varieties to recommend.
Plant tags?
Often, I default to the tag that comes with the plant and tuck it next to the perennial as it goes in the ground. They serve their purpose for about two years before the plastic grows brittle and cracks. I have also tucked them a bit away from the plant, along the perimeter, where they are out of the way when I weed. If you have a fence, try tucking them into available openings between boards.
This article originally appeared in the Summer 2023 edition of Northern Gardener® Magazine.

Eric Johnson is a longtime contributor to Northern Gardener, blogger and lifelong gardener in Roseville, Minn.
You may be interested in:
Climate Resilient Pollinator Plants for Minnesota
This is a short list of pollinator-friendly and climate-adaptive plants, compiled by the experts at the University of Minnesota Bee Lab, that provide food and shelter for Minnesota pollinators.
When to Plant Your Vegetable Garden
Updated May 2025 Planting a vegetable garden isn’t just a one-day affair. It’s often done over several weeks, depending on the weather and other factors….
Plant Selection for Upper Midwest Landscapes: Plant Elements of Design Database